ร—

VIP CLUB ๐Ÿ‘‘

Members Only

Welcome to the VIP Club

You scanned the card in your box, which means you are one of us now. Everything that brings your Blythe to life lives here: your build walkthrough, how-to videos, the care guide, your surprise gift, and a members-only perk. Take your time and enjoy it.

Your membership is active Est. 2000 26 Years Of Blythe

What your membership unlocks

Four ways we say thank you

No sign-up, no fine print. Your VIP status came free with your order and never expires. Here is what comes with it.

โ˜…
A surprise giftA little something added free to your next order, no code needed.
โ–บ
The full tutorial libraryStep-by-step videos and a written build guide, yours to keep.
โœฟ
Care & preservation tipsSimple ways to protect your Blythe so she lasts for decades.
โ—ˆ
A members-only perk10% off at our partner brand for life beyond the Blythe world.
Bonus 01 ยท VIP Exclusive

A free surprise gift on your next order

As a thank you for being part of the family, we tuck a free surprise into your next order. Not a discount, an actual little extra chosen for you. It is our favorite way to keep the unboxing magic going.

How to claim it: nothing to do. No codes, no hassle. Place your next order and we add the surprise for you. This is a limited, members-only treat, so it is lovely while it lasts.

Bonus 02 ยท The Makerโ€™s Walkthrough

Build your one-of-a-kind Blythe, step by step

Made the Custom Blythe Doll Making DIY Kitโ„ข? Here is the whole journey, photographed from a real kit. Twelve gentle steps from a box of parts to a doll who has never existed before.

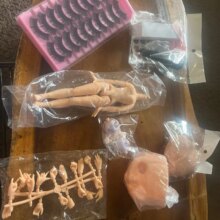
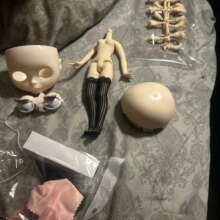
Everything inside the Custom Blythe Doll Making DIY Kit: doll body, head, eye mechanism, eyechips, lashes, hands and tools
Everything in your kit. Shown in Natural skin. Every tone includes the exact same parts.

Before you begin

Find a calm hour and a soft surface. A towel keeps small parts from rolling away. Lay out everything from the box, and keep the screws in a little dish so none go missing. A small screwdriver helps, and pointed-nose tweezers make the fiddly moments easier.

Golden rule: test the eyes before you close the head.
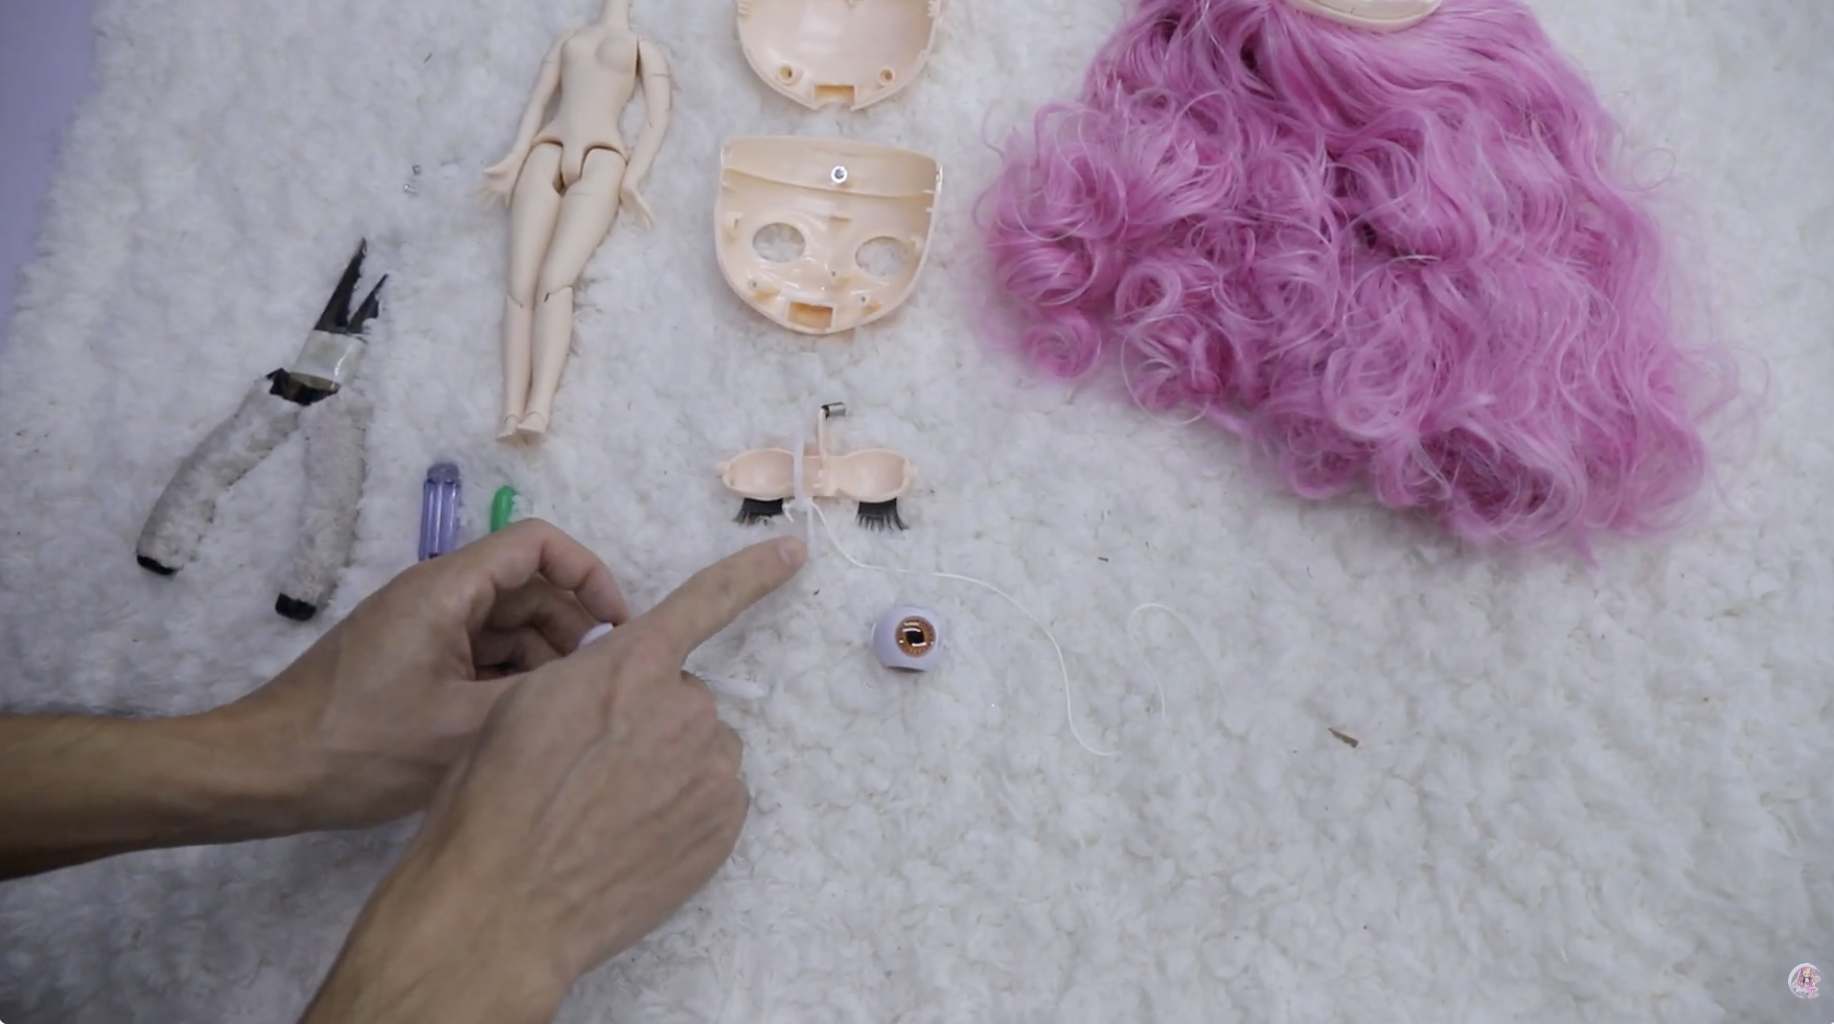
Part I

Her eyes & gaze

1All the parts in the Custom Blythe Doll Making DIY Kit laid out, ready to build

Lay out your kit

Spread every part on a soft towel: the body and hands, the blank head, the eye mechanism, the eyechip sheets and dome lenses, five pairs of lashes, the UV light and glue, the cloth, and the screws and cords.
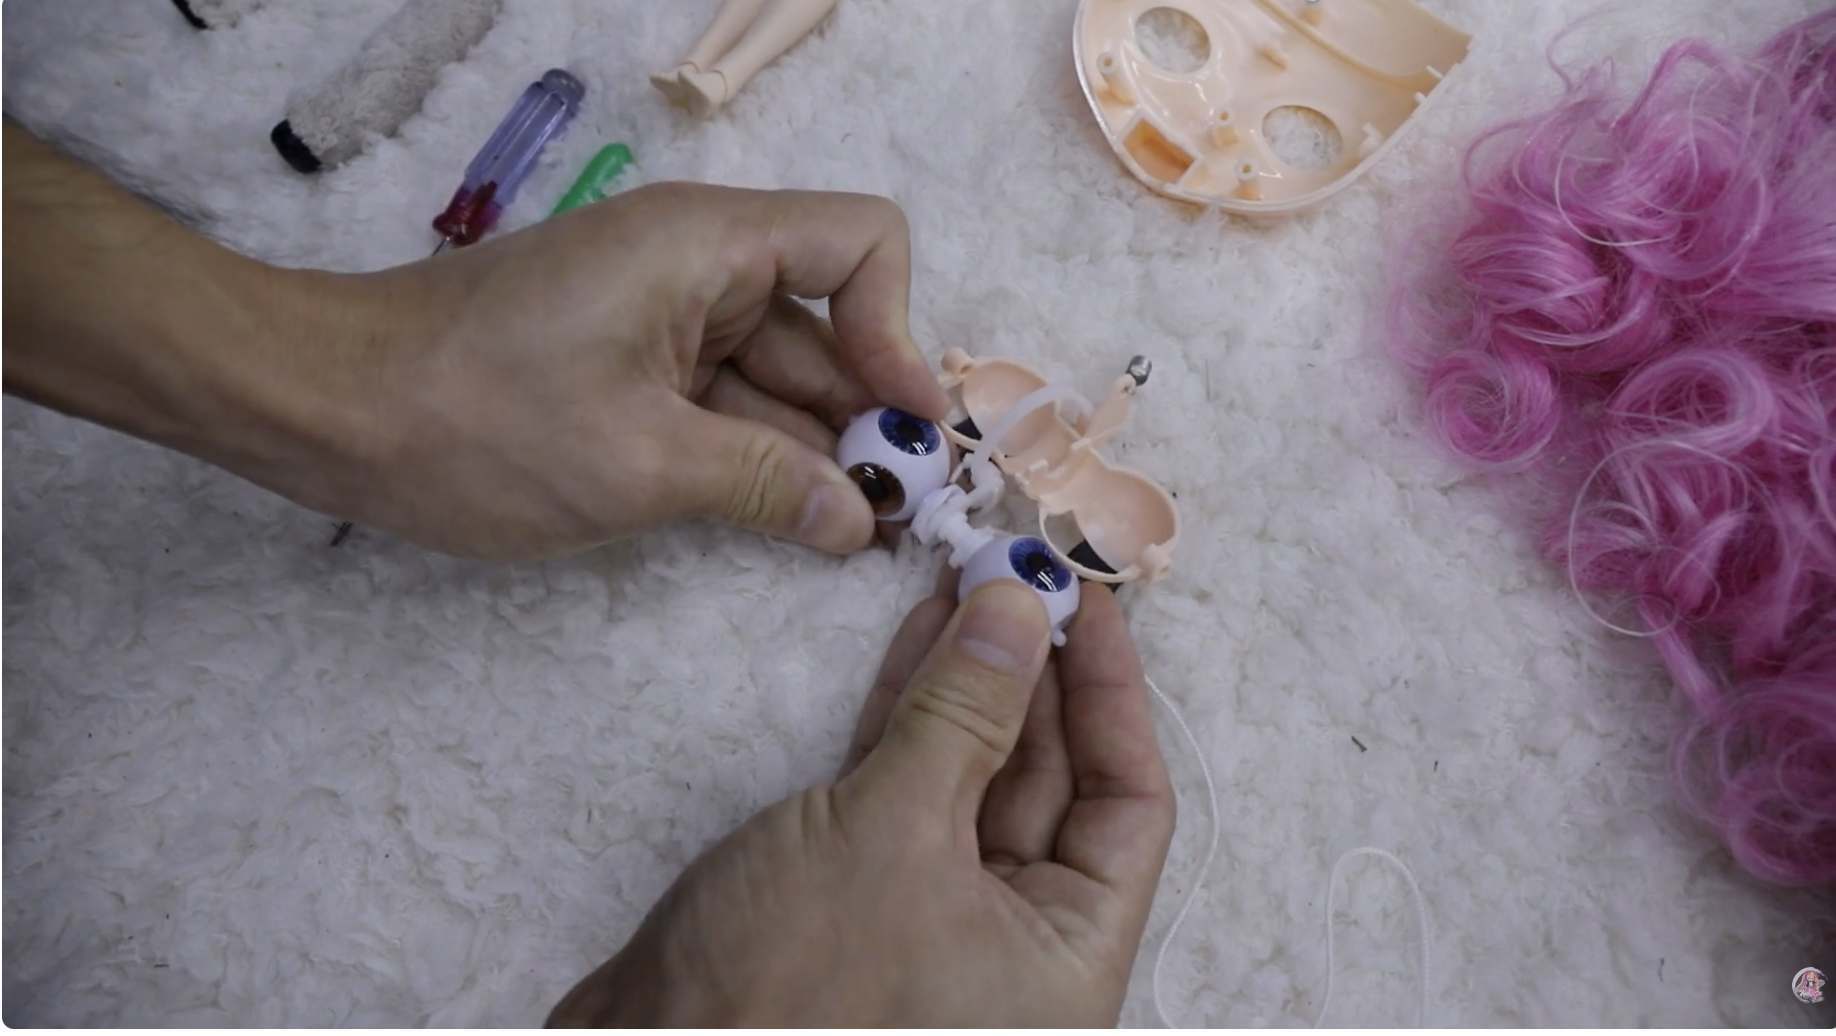
2Blythe doll eye units, eyelashes and pull-cords ready to assemble

Meet the eye parts

Get to know the pieces that bring her look to life: the eye units, the soft lashes, and the pull-cords that will change her eyes once she is finished.
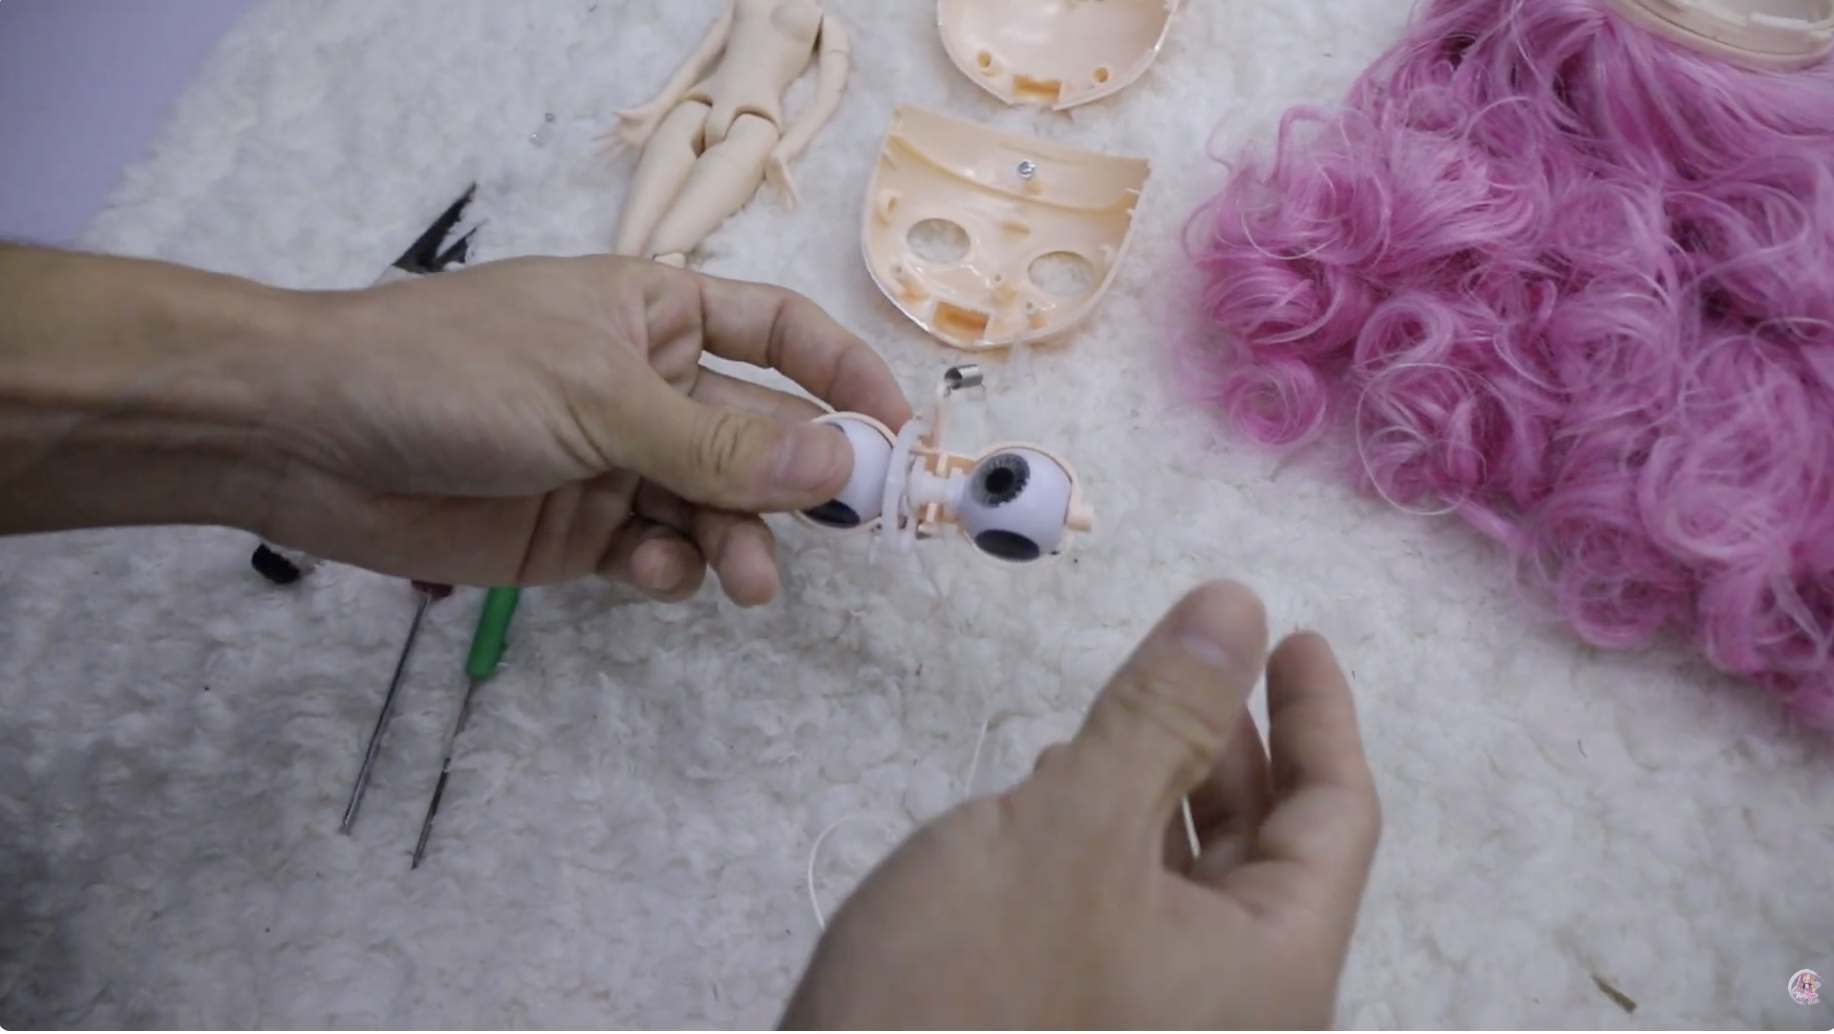
3Setting a chosen eyechip design into the Blythe doll eye mechanism

Make your eyechips

Choose a design, set it inside a clear dome lens, add a tiny dot of UV glue, and cure it for a few seconds. Make a matching pair.
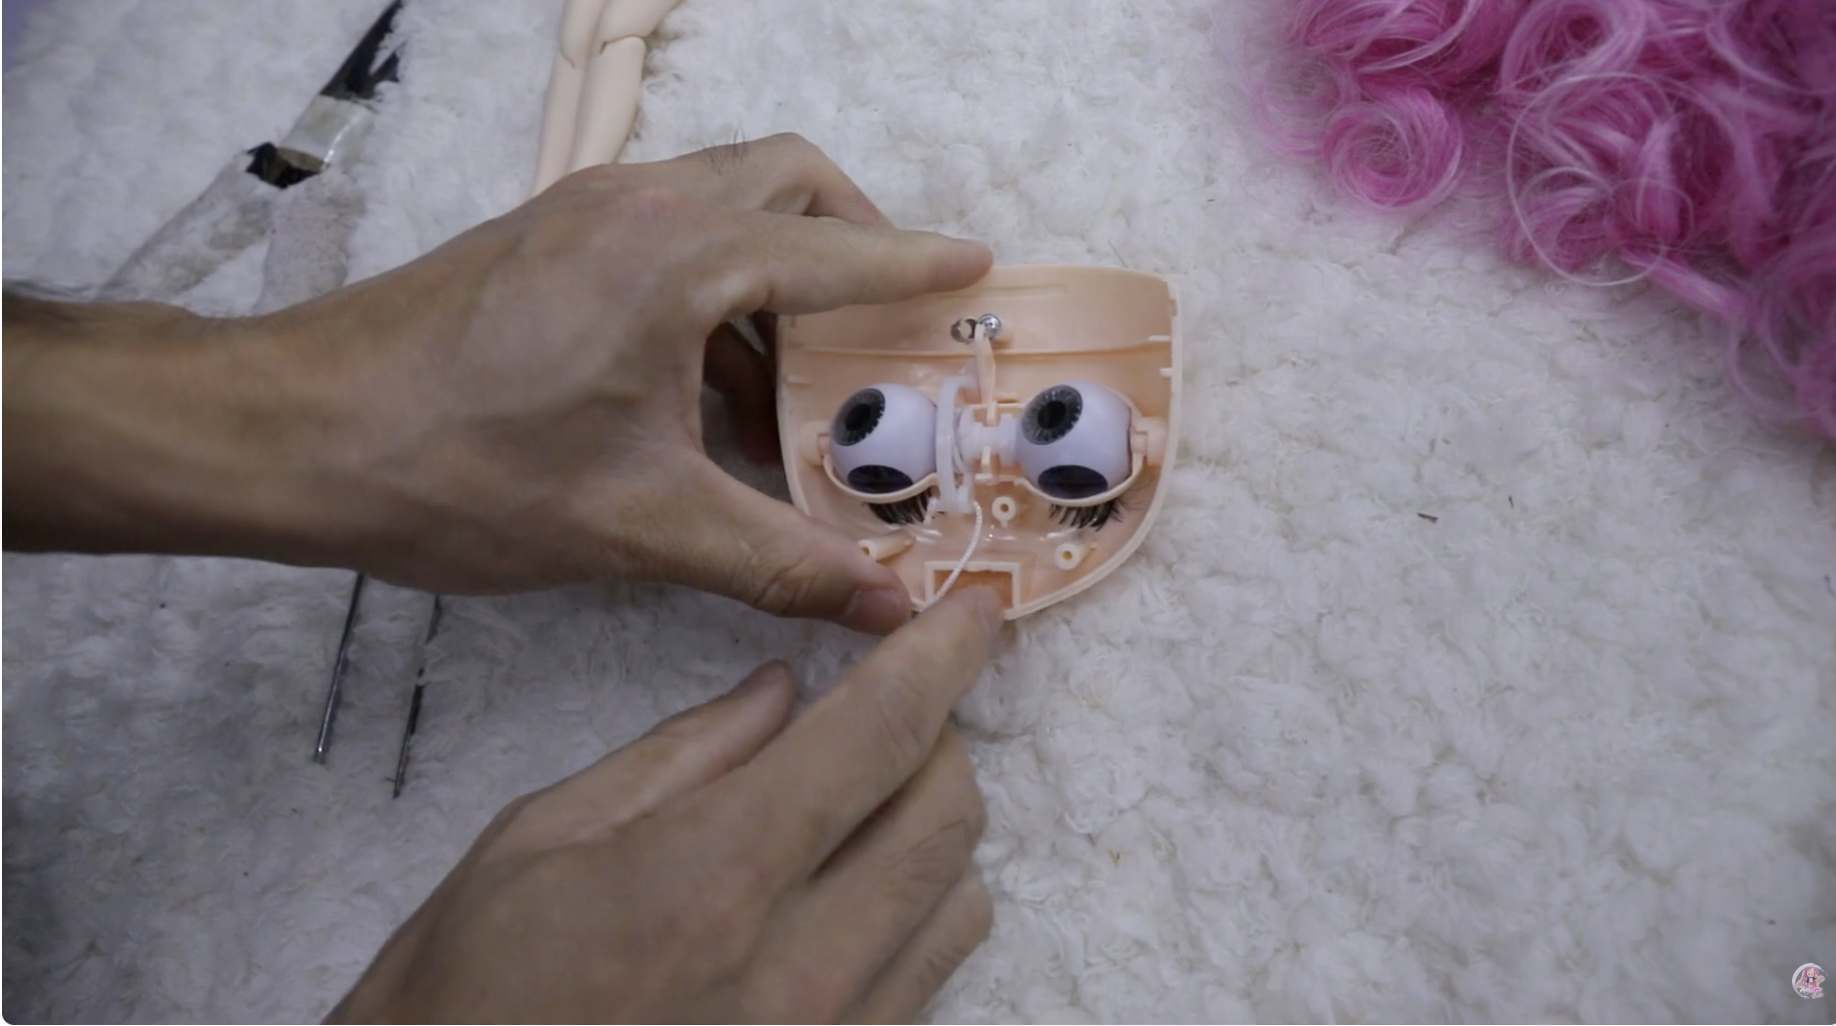
4Blythe doll eye mechanism fitted with the finished eyechips

Fit the chips into the eyes

Pop your finished domed chips into the front of each eyeball so they sit flush and face forward. Check that both eyes match and sit level.
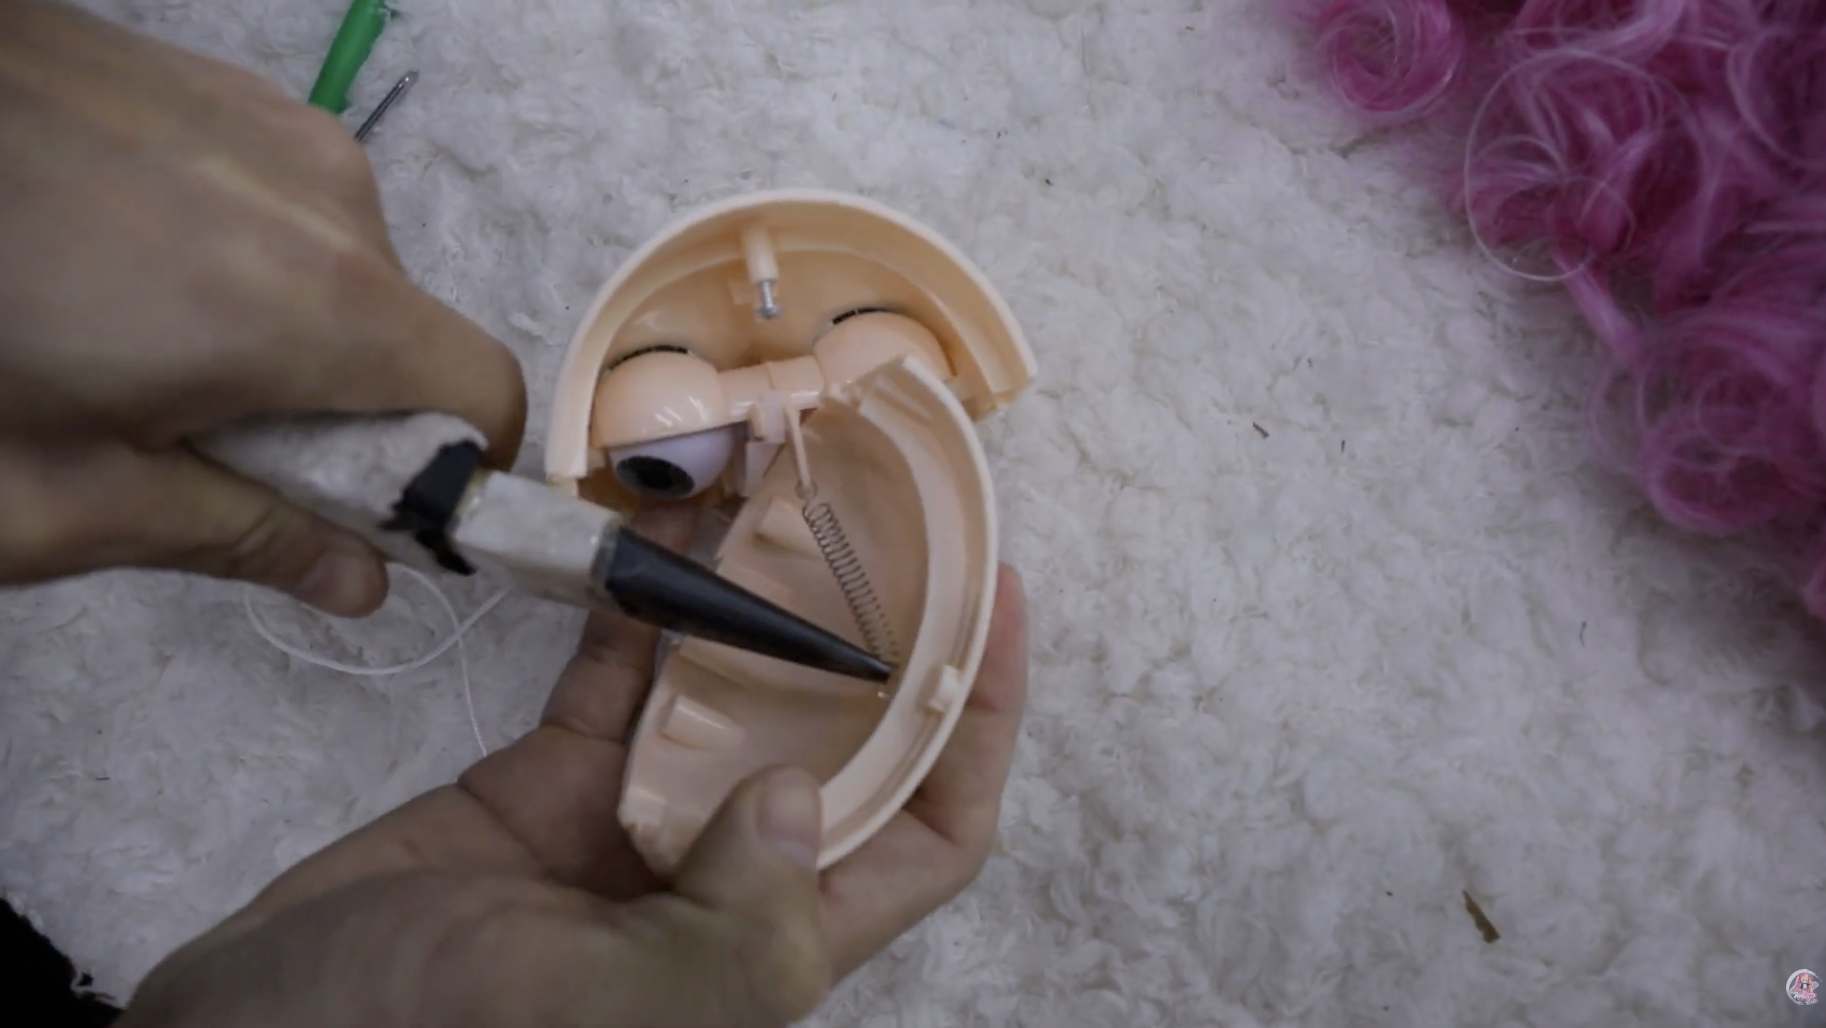
5Setting the eyes and lashes into the Blythe doll faceplate

Build the face

Lower the eye mechanism into the back of the faceplate so the eyes line up neatly behind the openings, looking straight ahead.
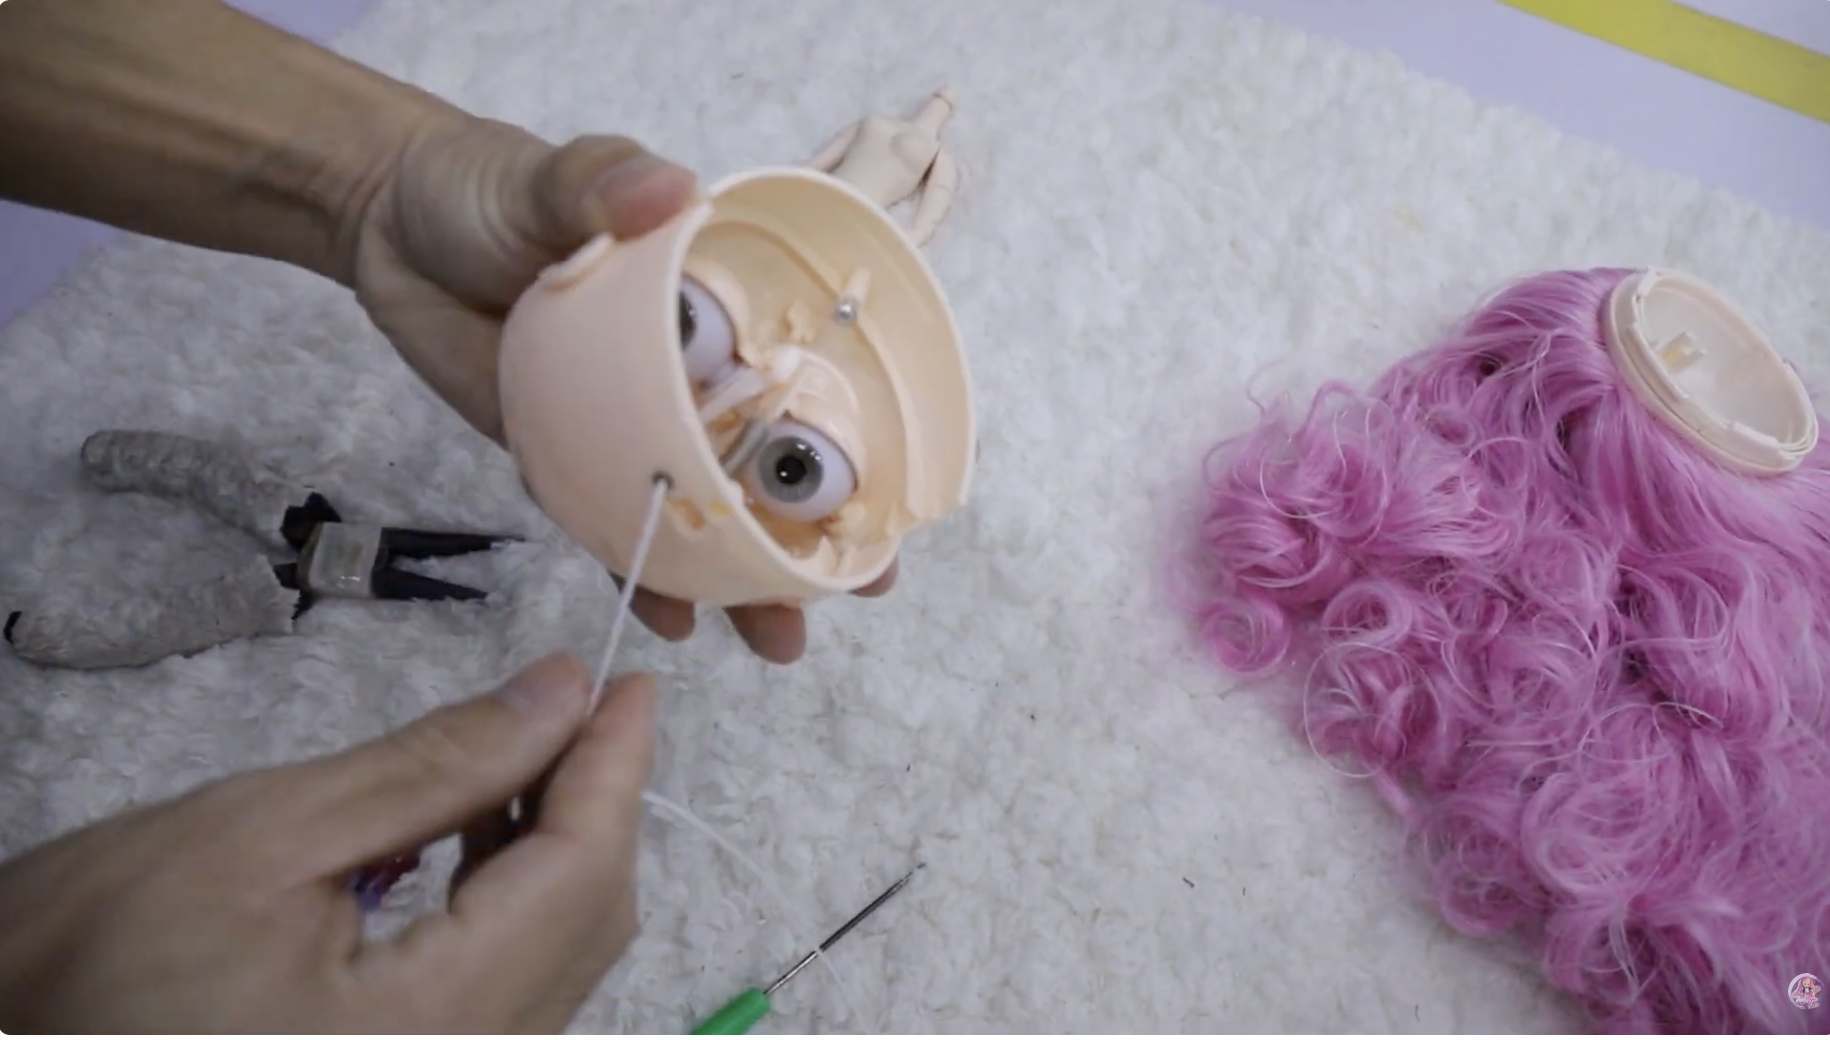
6Seating the eye mechanism and spring inside the Blythe doll faceplate

Seat the mechanism

Settle the spring and small pegs into their slots so the unit sits snug. Then tuck a pair of lashes into the groove above each eye and press gently.
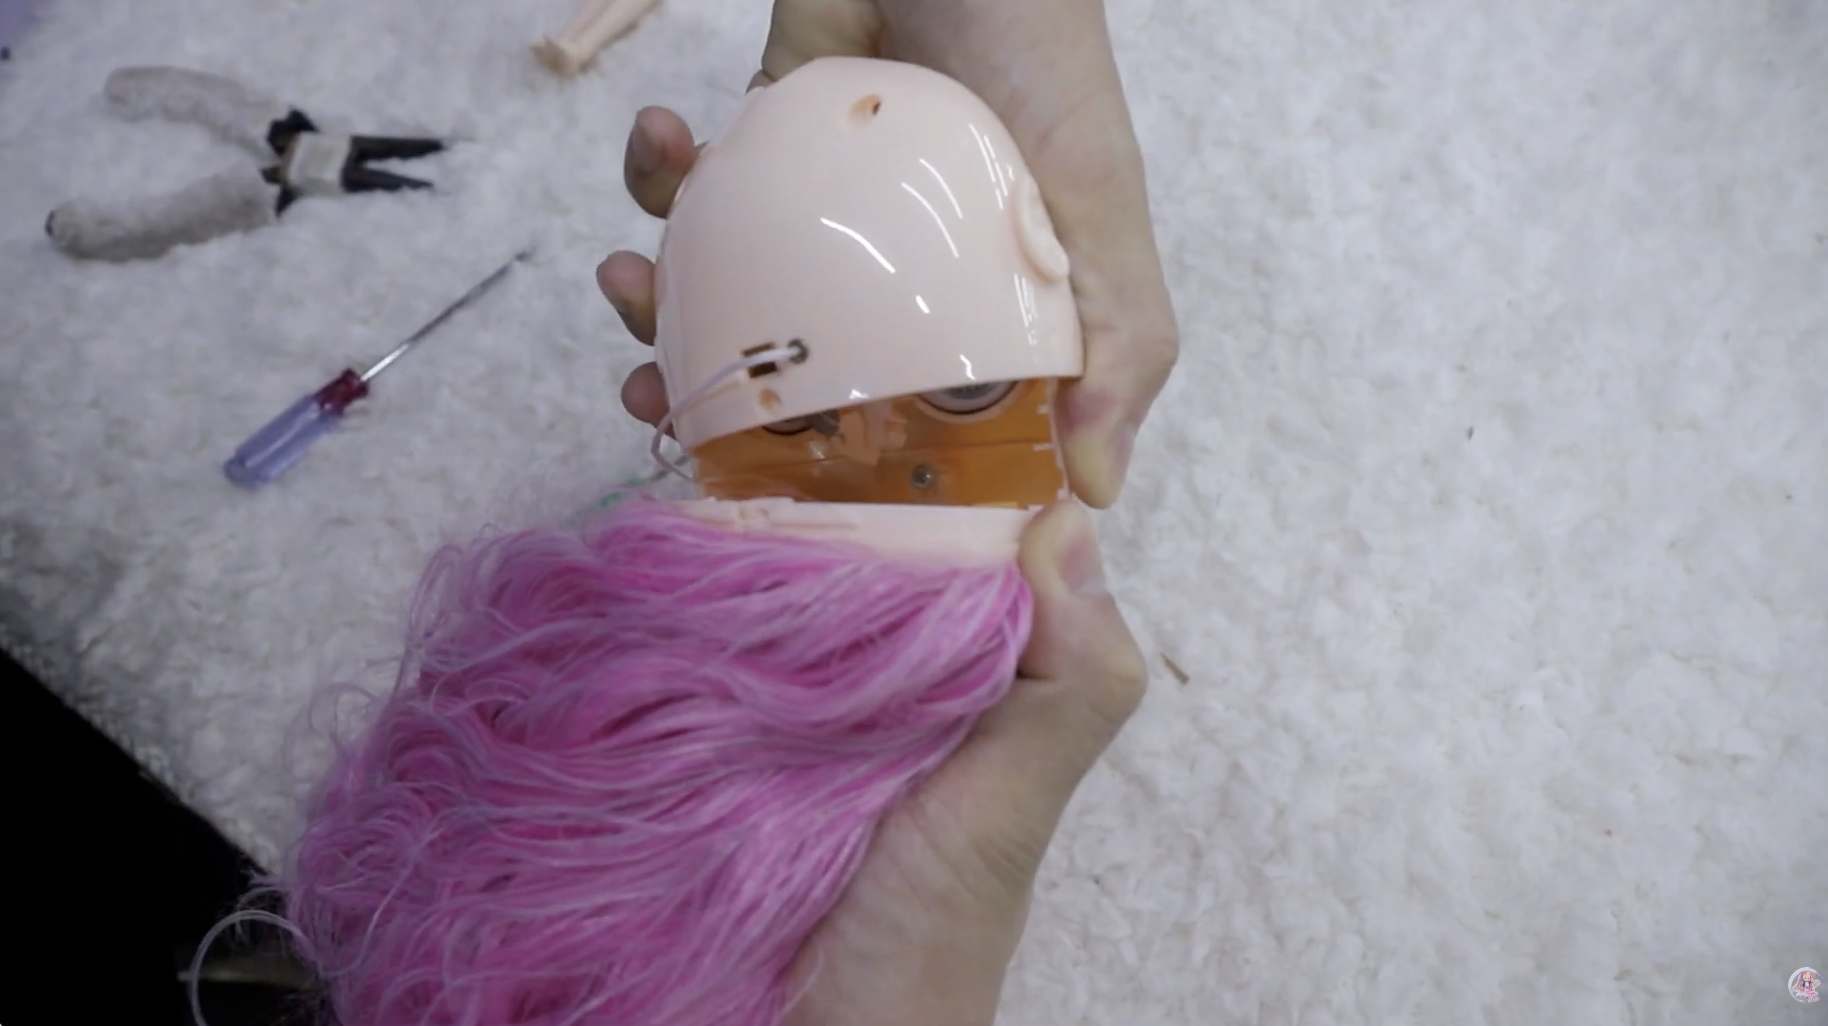
7Threading the pull-cord that changes the Blythe doll's gaze

Thread the gaze cords

Attach the pull-cords and feed them toward the back of the head. Give one a gentle pull: her eyes should change and the gaze should shift. Test every position now, while it is easy to adjust.
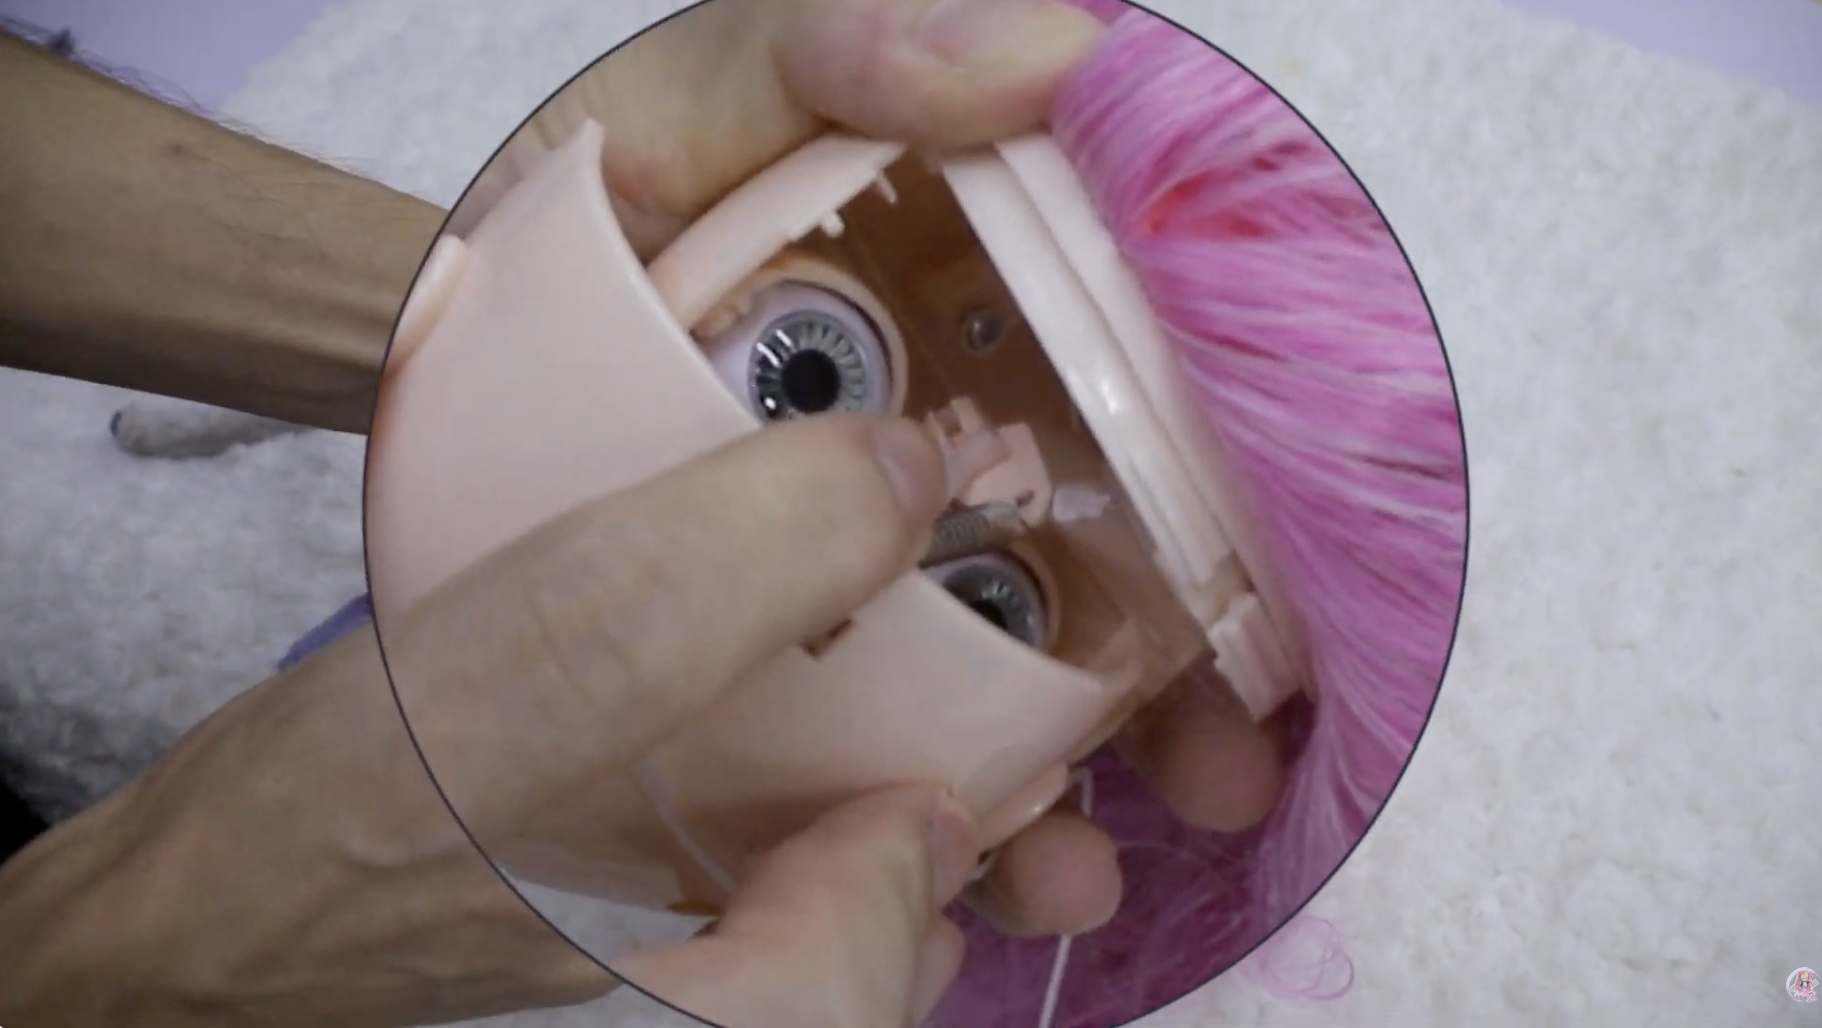
Part II

Closing the head

8Closing the Blythe doll head with the scalp dome

Close the head

Bring the scalp dome and faceplate together, line up the cord channel so the cord exits cleanly at the back, and replace the screws. Tighten gently and evenly, never force.
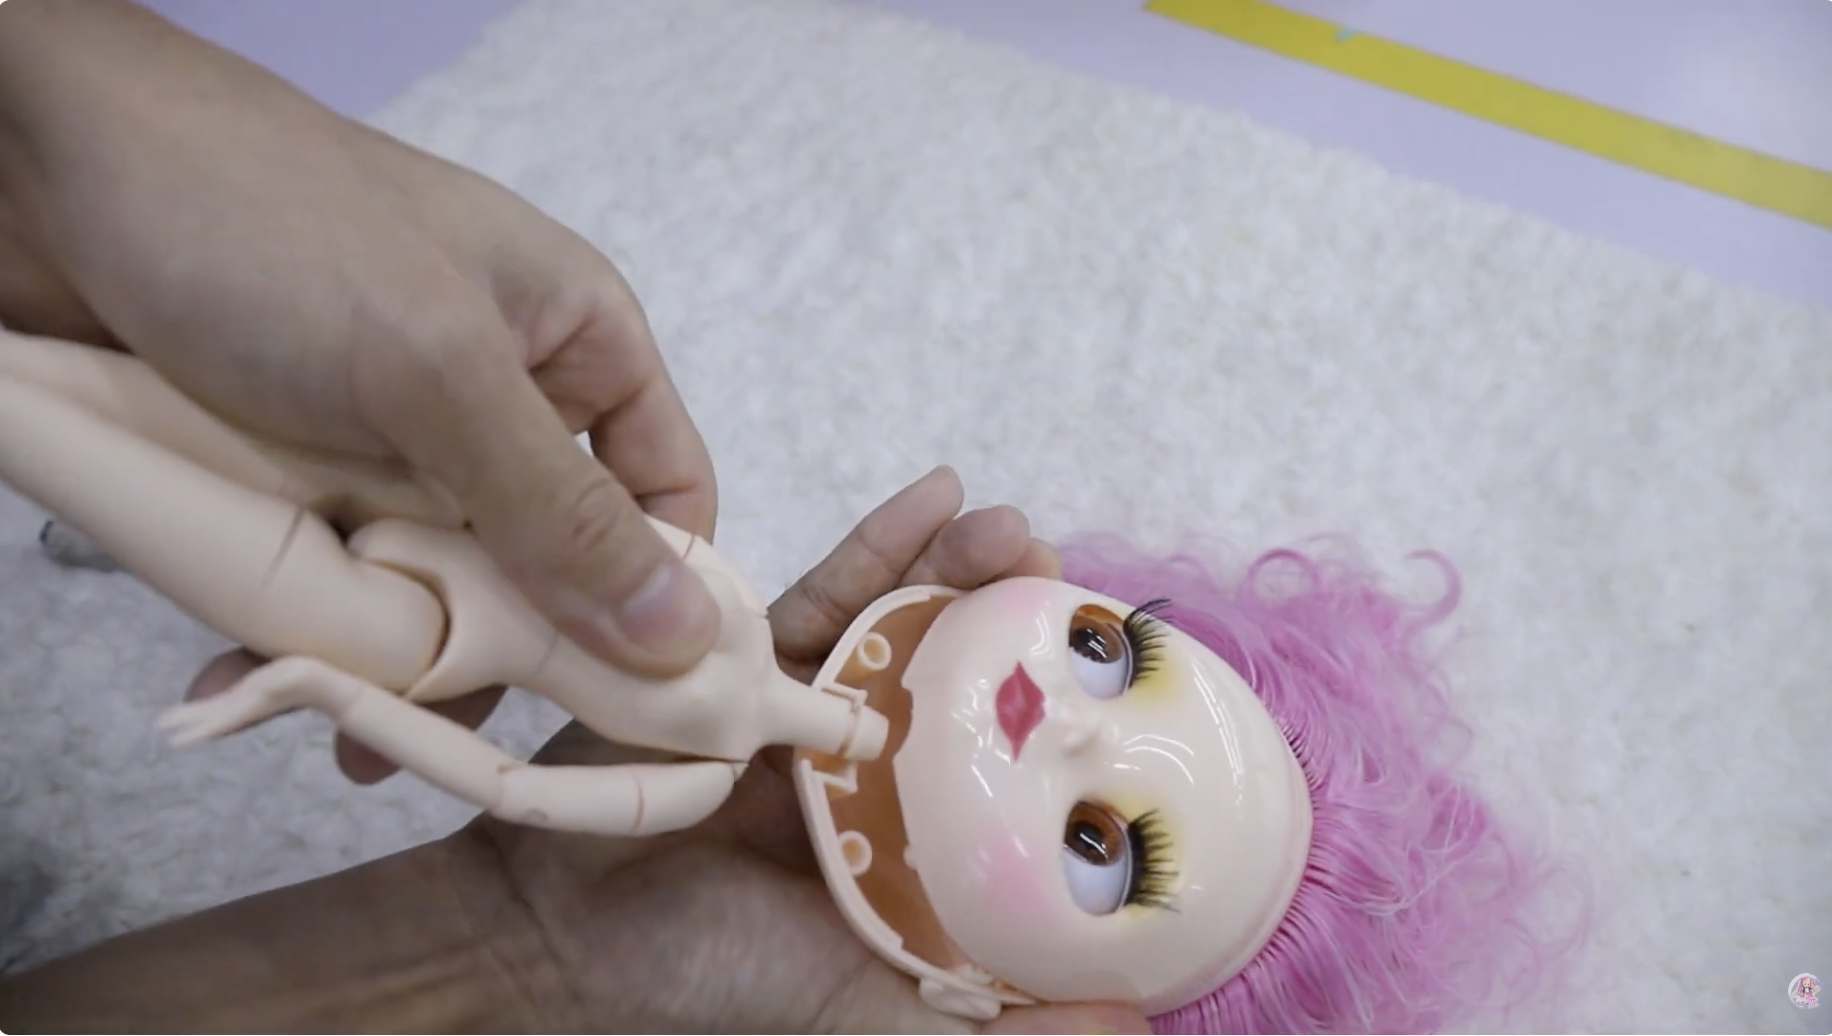
9The eye-change mechanism seen inside the assembled Blythe doll head

Check inside

With the head closed, confirm the eye-change mechanism still moves freely and the cord pulls cleanly, with nothing pinched by the screws.
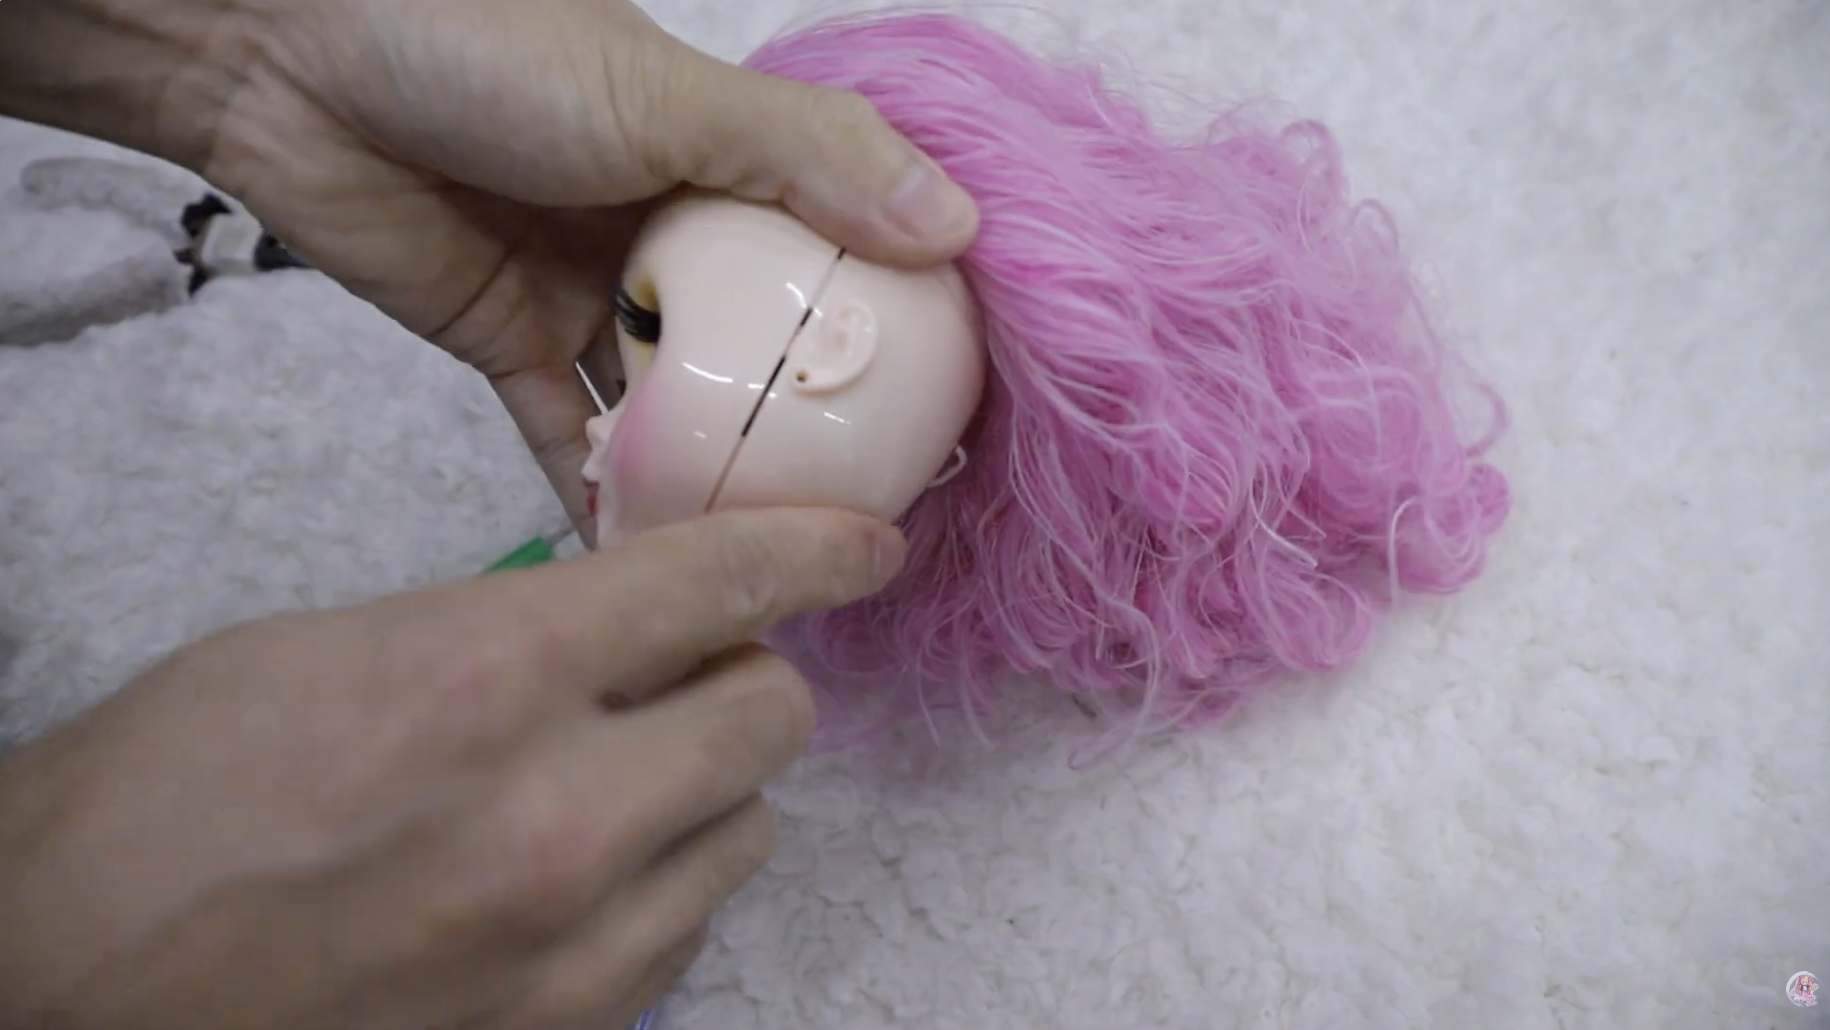
10Aligning the eyes inside the assembled Blythe doll head

Align her gaze

Make sure both eyes sit level and centered in the finished head, nudging each until her look is even and feels right to you.
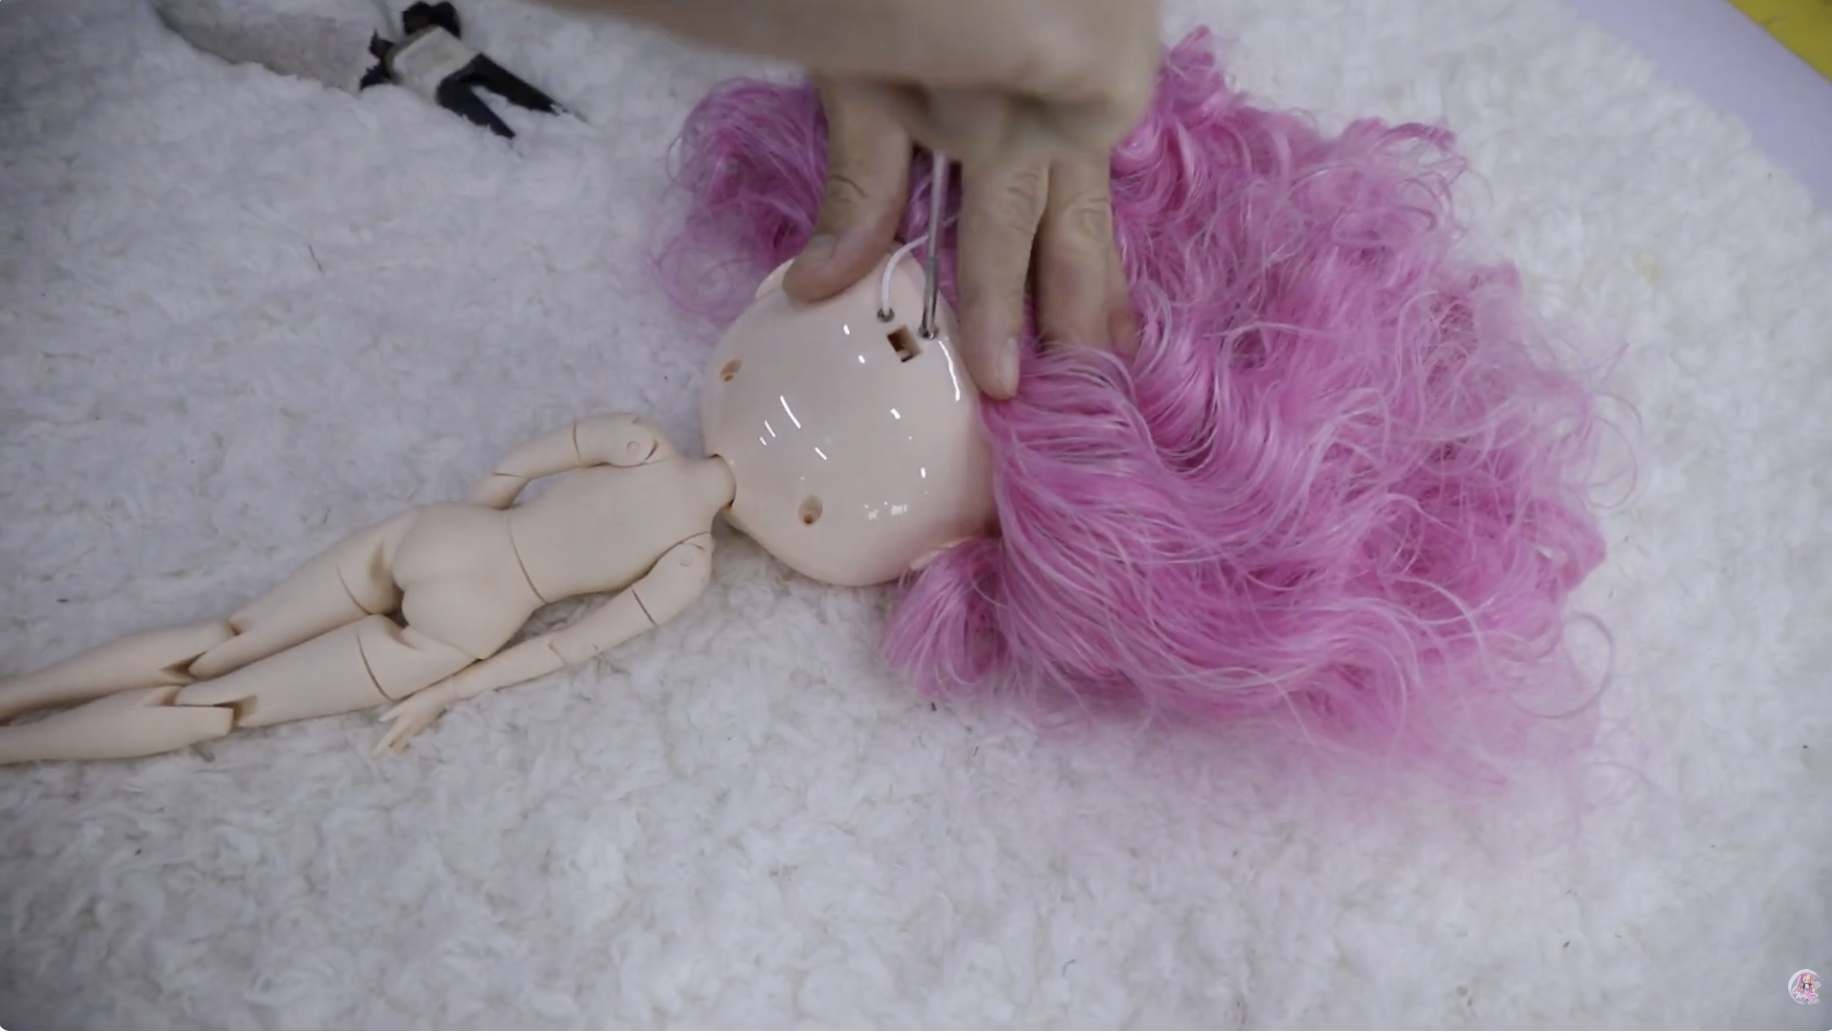
Part III

Body, hair & finish

11Attaching the finished Blythe doll head to the body

Join head to body

Line up the neck socket with the neck post and press together until secure, then check the head turns smoothly. Add your chosen hair scalp, matching its dome to her skin tone.
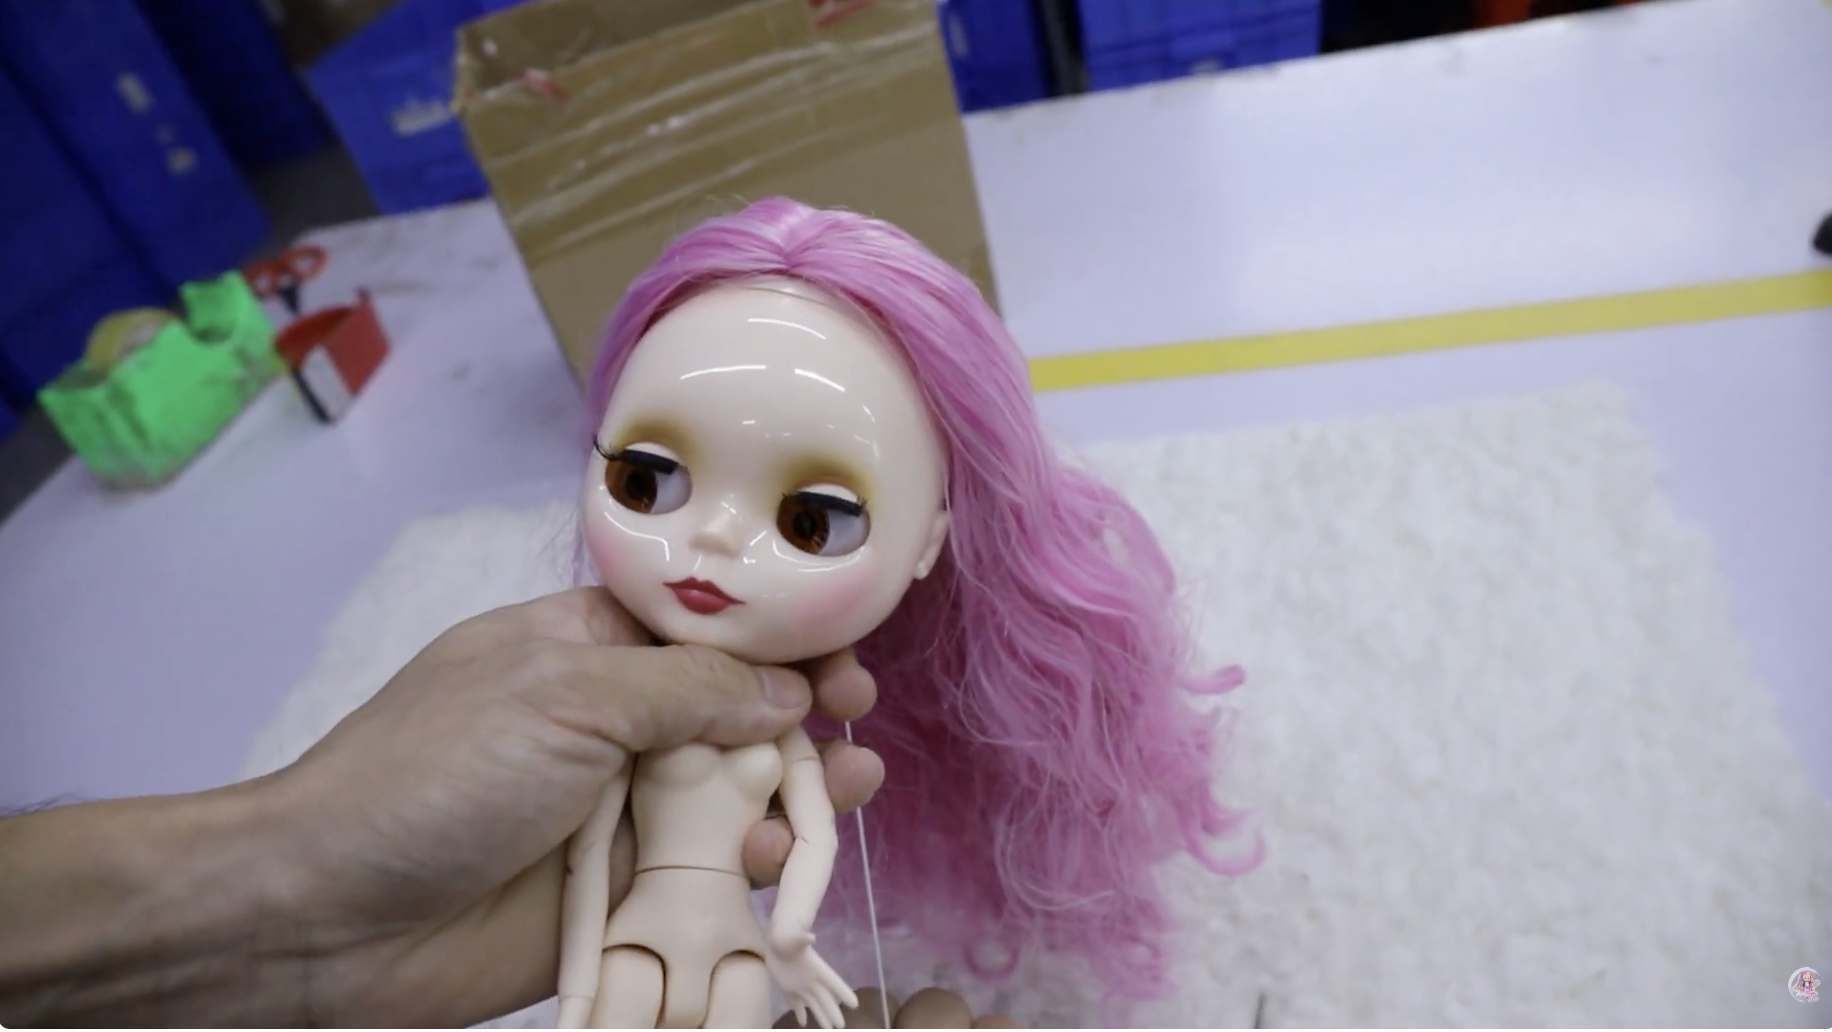
12The finished one-of-a-kind custom Blythe doll

She is yours

Dress her, position the hands, and buff the face with the polishing cloth for a soft, even sheen. One of a kind, and made entirely by you.

A Blythe doll's eyes changing through four different colors with a pull of the cord

The magic: four looks in one doll

Now pull the cord at the back of her head. Her eyes change color and her gaze shifts, up to four different looks, with no batteries at all. Pull again until you find your favorite.

If something

needs a little fixing

The eyes will not change when I pull the cord
  • Open the head and check the cord is attached to the mechanismโ€™s pull point and runs freely through the channel, not pinched by a screw. Re-test before closing again.
One eye sits higher than the other
  • Re-seat the mechanism so both pegs sit fully in their slots, then gently nudge each eyeball until the two are level.
An eyechip looks cloudy
  • Usually a touch too much glue, or it cured before it was clean. Pop the chip out, wipe it, set it into a fresh dome lens and cure it again.
The head feels loose, or a lash will not stay
  • Loose head: press the neck socket fully onto the post so it seats firmly and still turns.
  • Lash: make sure the groove is clean and dry, press the strip in evenly, and let it settle. You can swap lashes any time.

Recommended for ages 14 and up, or younger with a grown-up helping on the tool and glue steps. Keep small parts and UV glue away from young children and pets. Need a hand? Email [email protected] and a real person will help.

โš  Care essential ยท please read

Always take her hands off before you dress her

Her hands lift off at the wrist on purpose. Take them off first, dress her, then press them back on. Forcing sleeves over fixed hands is the number-one cause of a broken arm, and two seconds prevents it every single time.
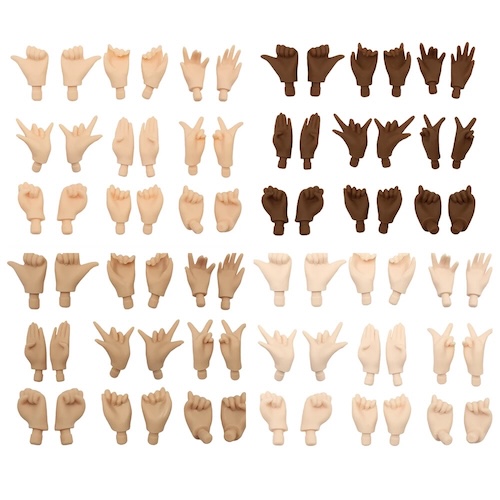
Blythe doll body with its removable hands, which lift off at the wrist
Her hands lift off at the wrist

Bonus 03 ยท Watch & Follow Along

Your how-to videos

Prefer to watch? These are the same steps, filmed. Pause, rewind, and replay as often as you like.
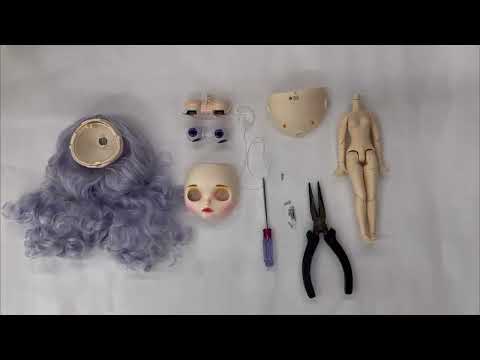
Assemble your first BlytheThe full walkthrough, start to finish, for first-time makers and seasoned customizers alike.
The quick guideShort on time? Straight-to-the-point steps for opening up and putting your Blythe back together.

Bonus 04 ยท Keep Her Beautiful

Your care & preservation guide

A few gentle habits keep your Blythe in pristine condition for years. Tap any section to open it.

Protect her from the elementsLight, humidity, dust and temperature
  • Avoid direct sunlight. Continuous sun can fade vibrant colors and finishes. Display her in a shaded spot.
  • Control humidity. High humidity can harm materials. Aim for a stable, moderate level where she lives.
  • Keep her dust-free. Dust gently with a soft, dry brush or microfiber cloth so nothing builds up.
  • Be kind with temperature. Extreme heat can soften materials. Keep her away from direct heat sources, at a steady, moderate temperature.
Handling & dressingPosing and changing outfits
  • Handle gently. Always use clean, dry hands to avoid transferring oils or dirt, and ease the joints rather than forcing them.
  • Remove her hands before dressing her, every time. Her hands pop off at the wrist on purpose. Take them off, slide the outfit on, then press them back. Forcing sleeves over the hands is the top cause of broken arms, so this two-second habit matters most of all.
Cleaning & hair careSurface, hair and the eye mechanism
  • Surface. Wipe gently with a soft, damp cloth. Avoid harsh chemicals or detergents that can damage paint and materials.
  • Hair. Detangle with a soft brush from the ends upward to avoid breakage. For a deeper clean, wash gently with mild soap and lukewarm water, then air dry fully.
  • Eyes. The eye mechanism is delicate. Keep dust away and use only a clean, dry cloth around the eyes.
Long-term storagePutting her away safely
  • Storage conditions. For long periods, choose a cool, dark, dry place. Wrap her in acid-free tissue and use a breathable container so air can circulate and pressure marks do not form.
  • Check in now and then. Even in storage, look in on her occasionally for any sign of humidity or pests, so small things never become big ones.
Members Perk

10% off at goOMG.com

Your membership reaches beyond Blythe. Enjoy an exclusive 10% off at our partner brand goOMG, a curated world of trending and luxury household items, technology, and furniture for the spaces you love.

Your codeTIB10

Browse, choose your favorites, and enter TIB10 at checkout to apply your discount.

Discover goOMG โ†’

From makers like you

Real Blythes, made by real people

A look at finished dolls and happy unboxings from makers who started exactly where you are. We would love to see yours too.

Shared by our makers

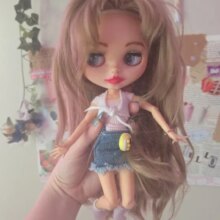
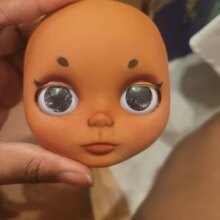
Customer photo of a finished custom Blythe doll Customer photo of a custom Blythe doll made from the DIY kit Customer photo of a finished Blythe doll Customer photo of a Blythe doll making kit Customer photo of a completed custom Blythe doll Customer photo of a Blythe doll built at home

Photos shared by verified customers. Read their reviews โ†’

26

Years of handcrafted Blythe

Thank you for being part of the story

Since 2000, we have handcrafted Blythe dolls for collectors in over 200 countries. You are part of that 26-year story now. Whenever you are ready for the next one, your VIP welcome is always waiting.

This Is Blythe featured in Forbes, BBC, The Guardian and more

With love, from the This Is Blythe family.

Questions any time: [email protected] ยท +1 (940) 400-0348

Top

Shopping cart

×